Testing Your App
What you'll learn
- The relationship between Cypress and your back end
- How to configure Cypress to fit your app
- Working with (or without!) your authentication mechanism
- Effectively leveraging test data
Step 1: Start your server
Assuming you've successfully installed the Test Runner and opened the Test Runner in your project, the first thing you'll want to do is start your local development server that hosts the application.
It should look something like http://localhost:8080.
Anti-Pattern
Don't try to start a web server from within Cypress scripts. Read about best practices here.
Why start a local development server?
You may be wondering - why can't I just visit my application that's already in production?
While you certainly can test an application that's already deployed, that's not really the sweet spot of Cypress.
Cypress is built, and optimized around being a tool for your daily local development. In fact, after you start using Cypress for awhile, we believe that you may find it useful to even do all of your development in it.
Ultimately you'll not only be able to test and develop at the same time, but you'll actually be able to build your application faster while getting tests "for free".
What's more - since Cypress enables you to do things like stub network requests you can build out your web application without even needing a server to provide valid JSON responses.
Last but not least - trying to shoehorn tests to an already built application is much more difficult than building it as you write tests. You'll likely encounter a series of initial up front challenges / hurdles that would have otherwise been avoided writing tests from the start.
The last, and probably most important reason why you want to test against local servers, is the ability to control them. When your application is running in production you can't control it.
When it's running in development you can:
- take shortcuts
- seed data by running executable scripts
- expose test environment specific routes
- disable security features which make automation difficult
- reset state on the server / database
With that said - you still have the option to have it both ways.
Many of our users run the majority of their integration tests against a local development server, but then reserve a smaller set of smoke tests that run only against a deployed production app.
Step 2: Visit your server
Once your server is running, it's time to visit it.
Let's delete the sample_spec.js file created in the previous tutorial now that
it's no longer needed.
rm cypress/integration/sample_spec.js
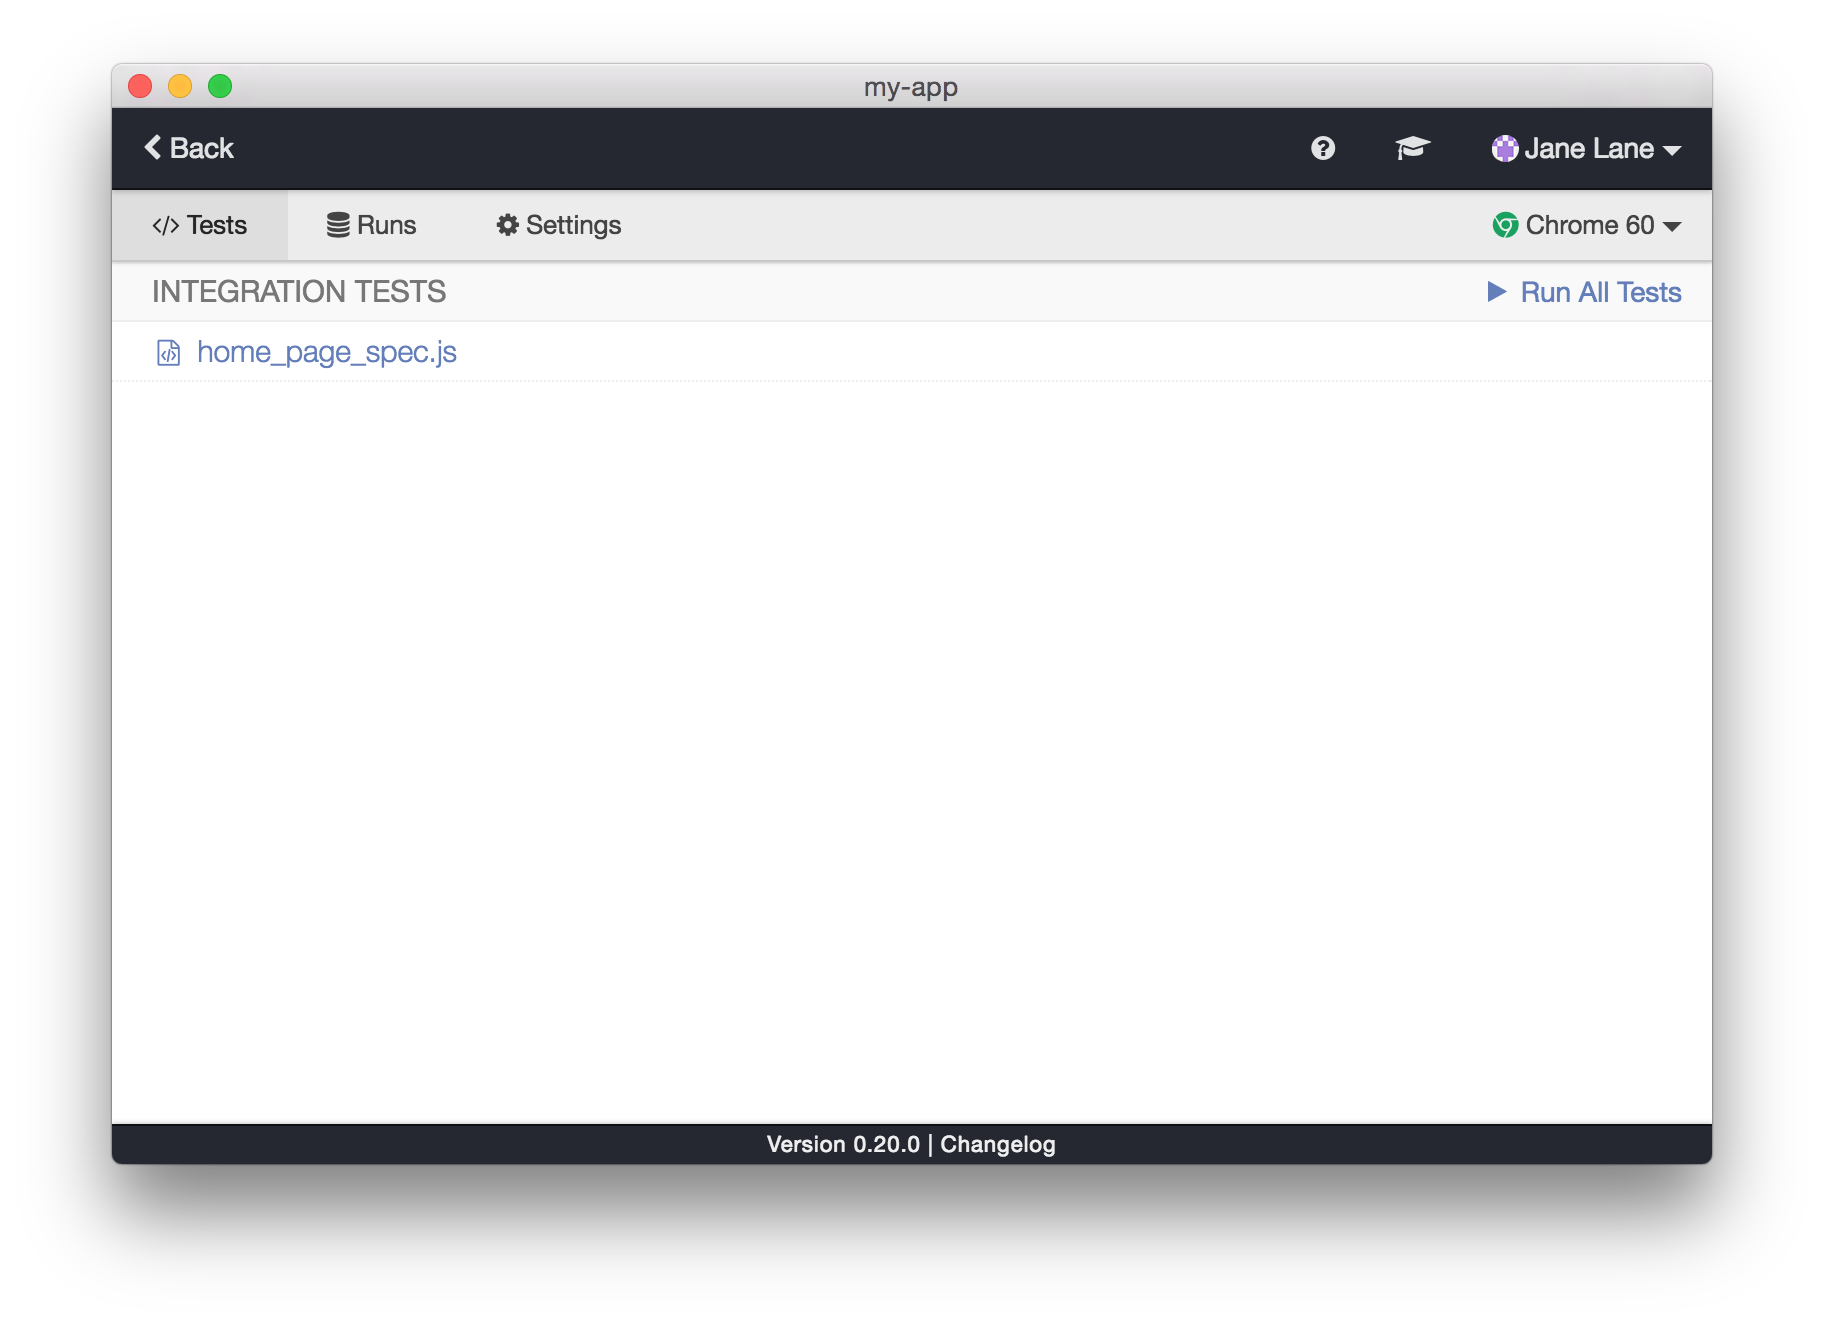
Now let's create our own spec file called home_page_spec.js.
touch cypress/integration/home_page_spec.js
Once that file is created, you should see it in the list of spec files.
Now you'll need to add in the following code in your test file to visit your server:
describe('The Home Page', () => {
  it('successfully loads', () => {
    cy.visit('http://localhost:8080') // change URL to match your dev URL
  })
})
Now click on the home_page_spec.js file and watch Cypress open your browser.
If you forgot to start your server you'll see the error below:

If you've started your server, then you should see your application loaded and working.
Step 3: Configure Cypress
If you think ahead, you'll quickly realize that you're going to be typing this URL a lot, since every test is going to need to visit some page of your application. Luckily, Cypress provides a configuration option for this. Let's leverage that now.
Open up your configuration file
(cypress.json in your project directory, by default) It starts out empty:
{}
Let's add the baseUrl option.
{
  "baseUrl": "http://localhost:8080"
}
This will automatically prefix cy.visit() and
cy.request() commands with this baseUrl.
Whenever you modify your configuration file, Cypress will automatically reboot itself and kill any open browsers. This is normal. Click on the spec file again to relaunch the browser.
We can now visit a relative path and omit the hostname and port.
describe('The Home Page', () => {
  it('successfully loads', () => {
    cy.visit('/')
  })
})
Great! Everything should still be green.
Configuration Options
Cypress has many more configuration options you can use to customize its behavior. Things like where your tests live, default timeout periods, environment variables, which reporter to use, etc.
Check them out in Configuration!
Testing strategies
You're about to embark on writing tests for your application, and only you know your application, so we don't have a lot of specific advice to give you.
What to test, where the edge cases and seams are, what regressions you're likely to run into, etc. are entirely up to you, your application, and your team.
That said, modern web testing has a few wrinkles that every team experiences, so here are some quick tips on common situations you're likely to run into.
Seeding data
Depending on how your application is built - it's likely that your web application is going to be affected and controlled by the server.
Typically these days servers communicate with front end apps via JSON, but you could also be running a traditional server-side rendered HTML web application.
Generally the server is responsible for sending responses that reflect some kind of state it holds - generally in a database.
Traditionally when writing e2e tests using Selenium, before you automate the
browser you do some kind of set up and tear down on the server.
Perhaps you'll need to generate a user, and seed them with associations and records. You may be familiar with using things such as fixtures or factories.
To test various page states - like an empty view, or a pagination view, you'd need to seed the server so that this state can be tested.
While there is a lot more to this strategy, you generally have three ways to facilitate this with Cypress:
cy.exec()- to run system commandscy.task()- to run code in Node via the pluginsFilecy.request()- to make HTTP requests
If you're running node.js on your server, you might add a before or
beforeEach hook that executes an npm task.
describe('The Home Page', () => {
  beforeEach(() => {
    // reset and seed the database prior to every test
    cy.exec('npm run db:reset && npm run db:seed')
  })

  it('successfully loads', () => {
    cy.visit('/')
  })
})
Instead of just executing a system command, you may want more flexibility and could expose a series of routes only when running in a test environment.
For instance, you could compose several requests together to tell your server exactly the state you want to create.
describe('The Home Page', () => {
  beforeEach(() => {
    // reset and seed the database prior to every test
    cy.exec('npm run db:reset && npm run db:seed')

    // seed a post in the DB that we control from our tests
    cy.request('POST', '/test/seed/post', {
      title: 'First Post',
      authorId: 1,
      body: '...',
    })

    // seed a user in the DB that we can control from our tests
    cy.request('POST', '/test/seed/user', { name: 'Jane' })
      .its('body')
      .as('currentUser')
  })

  it('successfully loads', () => {
    // this.currentUser will now point to the response
    // body of the cy.request() that we could use
    // to log in or work with in some way

    cy.visit('/')
  })
})
While there's nothing really wrong with this approach, it does add a lot of complexity. You will be battling synchronizing the state between your server and your browser - and you'll always need to set up / tear down this state before tests (which is slow).
The good news is that we aren't Selenium, nor are we a traditional e2e testing tool. That means we're not bound to the same restrictions.
With Cypress, there are several other approaches that can offer an arguably better and faster experience.
Stubbing the server
Another valid approach opposed to seeding and talking to your server is to bypass it altogether.
While you'll still receive all of the regular HTML / JS / CSS assets from your
server and you'll continue to cy.visit() it in the same
way - you can instead stub the JSON responses coming from it.
This means that instead of resetting the database, or seeding it with the state we want, you can force the server to respond with whatever you want it to. In this way, we not only prevent needing to synchronize the state between the server and browser, but we also prevent mutating state from our tests. That means tests won't build up state that may affect other tests.
Another upside is that this enables you to build out your application without needing the contract of the server to exist. You can build it the way you want the data to be structured, and even test all of the edge cases, without needing a server.
However - there is likely still a balance here where both strategies are valid (and you should likely do them).
While stubbing is great, it means that you don't have the guarantees that these response payloads actually match what the server will send. However, there are still many valid ways to get around this:
Generate the fixture stubs ahead of time
You could have the server generate all of the fixture stubs for you ahead of time. This means their data will reflect what the server will actually send.
Write a single e2e test without stubs, and then stub the rest
Another more balanced approach is to integrate both strategies. You likely want
to have a single test that takes a true e2e approach and stubs nothing.
It'll use the feature for real - including seeding the database and setting up
state.
Once you've established it's working you can then use stubs to test all of the edge cases and additional scenarios. There are no benefits to using real data in the vast majority of cases. We recommend that the vast majority of tests use stub data. They will be orders of magnitude faster, and much less complex.
Guide: Network Requests
Please read our Guide on Network Requests for a much more thorough analysis and approach to accomplishing this.
Logging in
One of the first (and arguably one of the hardest) hurdles you'll have to overcome in testing is logging into your application.
Nothing slows a test suite down like having to log in, but all the good parts of your application most likely require an authenticated user! Here are some tips.
Fully test the login flow -- but only once!
It's a great idea to get your signup and login flow under test coverage since it is very important to all of your users and you never want it to break.
Logging in is one of those features that are mission critical and should likely involve your server. We recommend you test signup and login using your UI as a real user would:
Here's an example alongside seeding your database:
describe('The Login Page', () => {
  beforeEach(() => {
    // reset and seed the database prior to every test
    cy.exec('npm run db:reset && npm run db:seed')

    // seed a user in the DB that we can control from our tests
    // assuming it generates a random password for us
    cy.request('POST', '/test/seed/user', { username: 'jane.lane' })
      .its('body')
      .as('currentUser')
  })

  it('sets auth cookie when logging in via form submission', function () {
    // destructuring assignment of the this.currentUser object
    const { username, password } = this.currentUser

    cy.visit('/login')

    cy.get('input[name=username]').type(username)

    // {enter} causes the form to submit
    cy.get('input[name=password]').type(`${password}{enter}`)

    // we should be redirected to /dashboard
    cy.url().should('include', '/dashboard')

    // our auth cookie should be present
    cy.getCookie('your-session-cookie').should('exist')

    // UI should reflect this user being logged in
    cy.get('h1').should('contain', 'jane.lane')
  })
})
You'll likely also want to test your login UI for:
- Invalid username / password
- Username taken
- Password complexity requirements
- Edge cases like locked / deleted accounts
Each of these likely requires a full blown e2e test.
Now, once you have your login completely tested - you may be tempted to think:
"...okay great! Let's repeat this login process before every single test!"
No! Please don't.
Do not use your UI to login before each test.
Let's investigate and tease apart why.
Bypassing your UI
When you're writing tests for a very specific feature, you should use your UI to test it.
But when you're testing another area of the system that relies on a state from a previous feature: do not use your UI to set up this state.
Here's a more robust example:
Imagine you're testing the functionality of a Shopping Cart. To test this, you need the ability to add products to that cart. Well where do the products come from? Should you use your UI to login to the admin area, and then create all of the products including their descriptions, categories, and images? Once that's done should you then visit each product and add each one to the shopping cart?
No. You shouldn't do that.
Anti-Pattern
Don't use your UI to build up state! It's enormously slow, cumbersome, and unnecessary.
Read about best practices here.
Using your UI to log in is the exact same scenario as what we described previously. Logging in is a prerequisite of state that comes before all of your other tests.
Because Cypress isn't Selenium, we can actually take a huge shortcut here and
skip needing to use our UI by using cy.request().
Because cy.request() automatically gets and sets
cookies under the hood, we can actually use it to build up state without using
your browser's UI, yet still have it perform exactly as if it came from the
browser!
Let's revisit the example from above but assume we're testing some other part of the system.
describe('The Dashboard Page', () => {
  beforeEach(() => {
    // reset and seed the database prior to every test
    cy.exec('npm run db:reset && npm run db:seed')

    // seed a user in the DB that we can control from our tests
    // assuming it generates a random password for us
    cy.request('POST', '/test/seed/user', { username: 'jane.lane' })
      .its('body')
      .as('currentUser')
  })

  it('logs in programmatically without using the UI', function () {
    // destructuring assignment of the this.currentUser object
    const { username, password } = this.currentUser

    // programmatically log us in without needing the UI
    cy.request('POST', '/login', {
      username,
      password,
    })

    // now that we're logged in, we can visit
    // any kind of restricted route!
    cy.visit('/dashboard')

    // our auth cookie should be present
    cy.getCookie('your-session-cookie').should('exist')

    // UI should reflect this user being logged in
    cy.get('h1').should('contain', 'jane.lane')
  })
})
Do you see the difference? We were able to login without needing to actually use our UI. This saves an enormous amount of time visiting the login page, filling out the username, password, and waiting for the server to redirect us before every test.
Because we previously tested the login system end-to-end without using any shortcuts, we already have 100% confidence it's working correctly.
Use the methodology above when working with any area of your system that requires the state to be set up elsewhere. Just remember - don't use your UI!
Authentication Recipes
Logging in can be more complex than what we've just covered.
We've created several recipes covering additional scenarios like dealing with CSRF tokens or testing XHR based login forms.
Feel free to explore these additional logging in recipes.
Get started
Ok, we're done talking. Now dive in and get started testing your app!
From here you may want to explore some more of our guides:
- Tutorial Videos to watch step-by-step tutorial videos
- Cypress API to learn what commands are available as you work
- Introduction to Cypress explains how Cypress really works
- Command Line for running all your tests outside
via
cypress run - Continuous Integration for running Cypress in CI
- Cross Browser Testing for optimally running tests in CI across Firefox and Chrome-family browsers
- Cypress Real World App (RWA) for practical demonstrations of Cypress testing practices, configuration, and strategies in a real-world project.